Implement reverse proxy without paid domain with EC2
What is reverse proxy?
Reverse proxy and proxy are two different things.
Proxy:
Suppose you want to visit a website badwebsite.com. But you can’t cause it’s blocked by your organization. You can visit goodwebsite.com which will redirect you to badwebsite.com. And as goodwebsite.com is not blocked, it’s acting like a proxy.
Reverse proxy: Understanding with an analogy
Server (EC2 instance) is like hotel and ports are like rooms in hotel and reverse proxy acts as a hotel manager for the urls and direct them to their respective rooms (ports). NGINX (open source software used for reverse proxy) is like a hotel manager, manages the request and redirects to their respective rooms, also hides the rooms (port number) under the hotel name. So if anyone wants to visit you, you can give your hotel name and the manager will redirect the guest to your room automatically
Start and launch EC2 instance
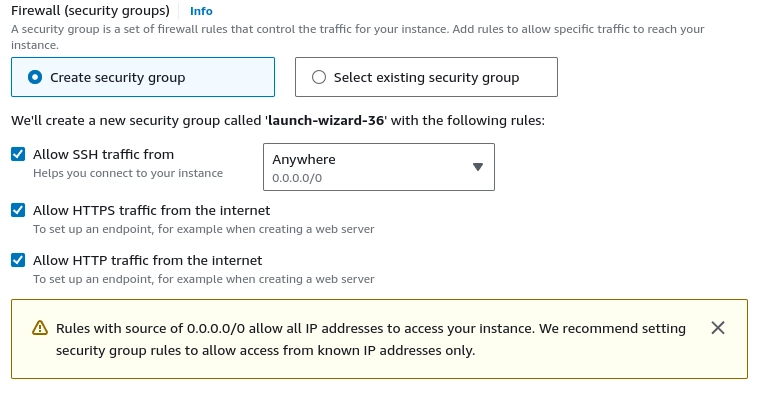
Start an EC2 instance with an Ubuntu instance allowing HTTP and HTTPS traffic and keeping the rest of the configuration as default. Make sure to download the .pem file if you want to SSH into your server. If you don’t know how to start an instance from scratch, check docs.
What does allowing HTTP or HTTPS traffic mean?
If we want that our server can be SSH from anywhere or some restricted ips, we Allow SSH traffic from anywhere or restricted addresses .
- Allowing HTTP:
HTTP has port
80. Allowing HTTP means if the user searcheshttp://example.com, they will be technically searchingexample.com:80which if we allowHTTPtraffic, only then the user can see the results. Else it will hang up. - Allowing HTTPS:
Same things as HTTP, here HTTP has port
443. If we allow traffic,https://example.comorexample.com:443can be accessed. Else, not.
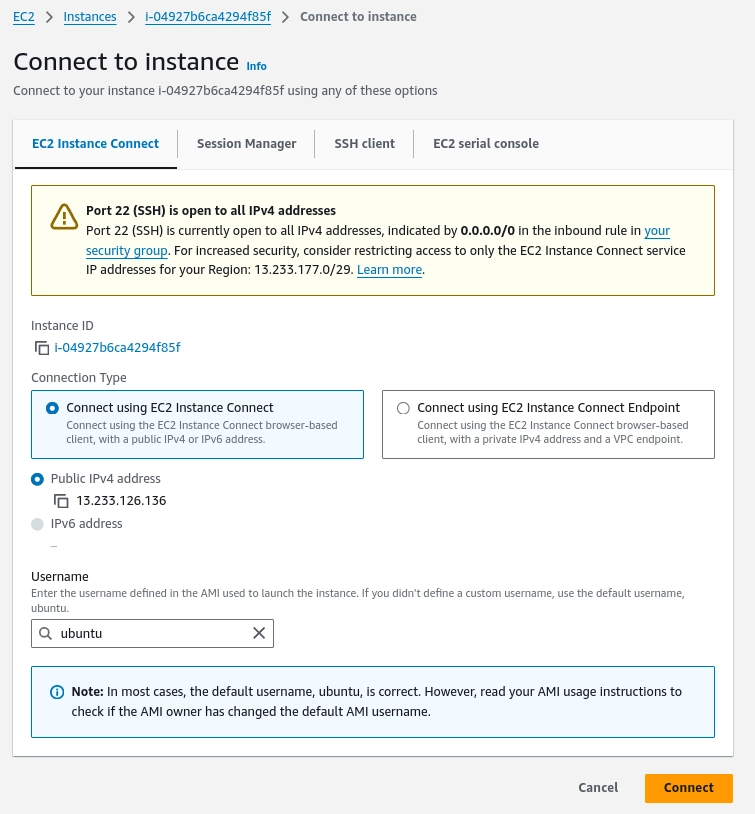
after this, you need to launch instance and connect via SSH or connect in the web like this.
- Via Web:
- Via SSH:
Open your terminal and cd into the directory where your .pem file exists.
ssh -i <your_file.pem> ubuntu@<public_ip>How to get public ip?
Go to the EC2 console and click on the running instance. The highlighted text is of public ip of that instance.
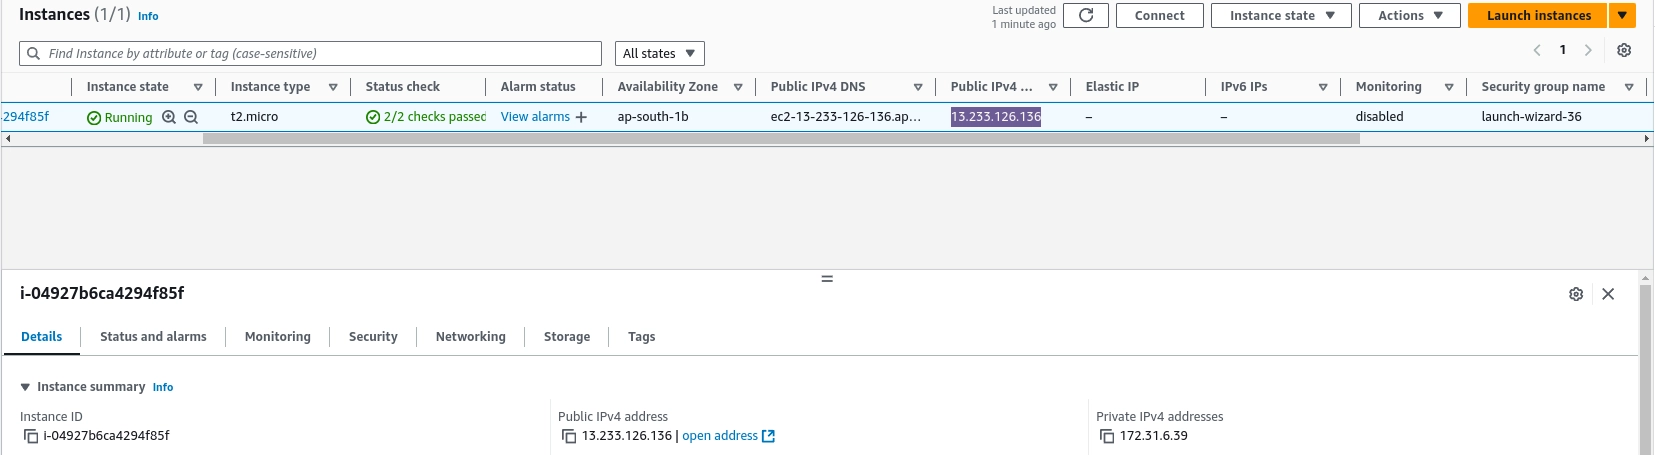
If you face any error while connecting, run this command to restrict the permissions of the .pem file
chmod 700 <file.pem>and run that SSH command again.
Install Dependencies
Run the following commands to update and install node and npm
sudo apt update
sudo apt install nodejs
sudo apt install npm
Create multiple port listener express app
Clone the repo and install the dependencies
git clone https://github.com/bandhan-majumder/Blog-Codes/
cd Blog-Codes
npm install
after installing the dependencies, run the app.js with
node app.jsand this will be consoled in your screen:
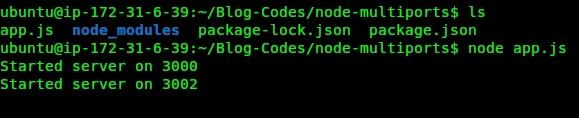
So we have our node process ready which is listening to both 3000 and 3002.
If you try to access it with your public DNS (can be found at the left of where you found your public ip) or your public ip, you will not be able to. Cause we have not configured the security groups ( inbound rules ) for these 2 ports.
So do that, go to the security groups of that instance;
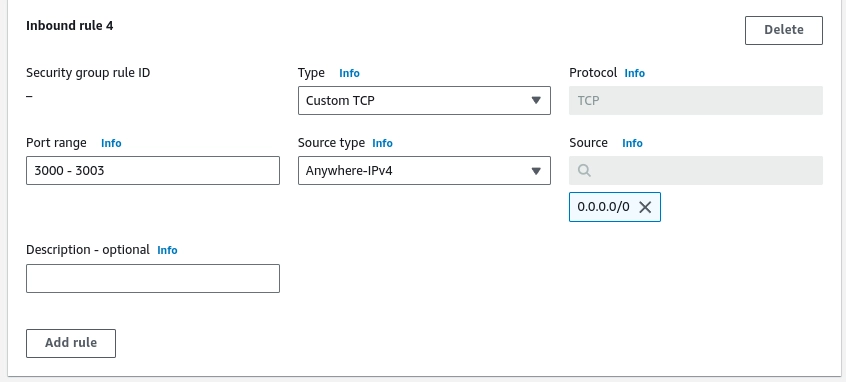
and add this rule;
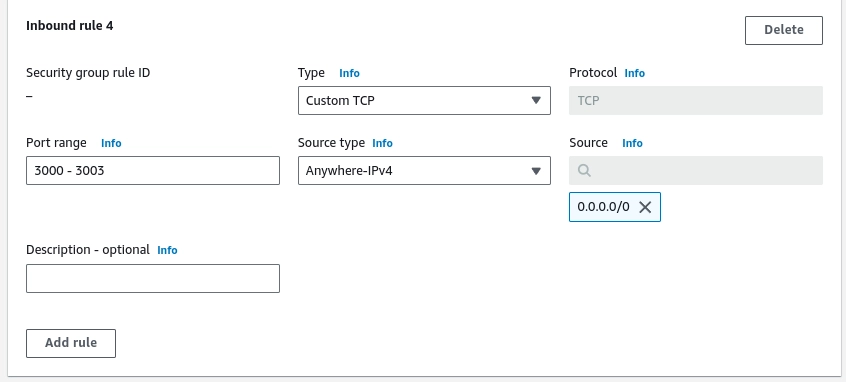
this will allow to expose ports 3000, 3001, 3002, 3003 to 0.0.0.0/0 or everywhere
Now go to browser and search for
<your_dns_or_ip>:3000 which will give response like this:
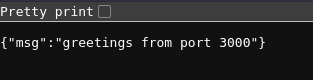
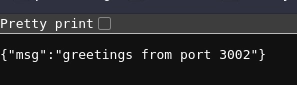
and <your_dns_or_ip>:3002 which will give response like this:
Install Nginx
Try to access your DNS without port. And you will not be able to reach as there is no one listening at port 80 (http request)
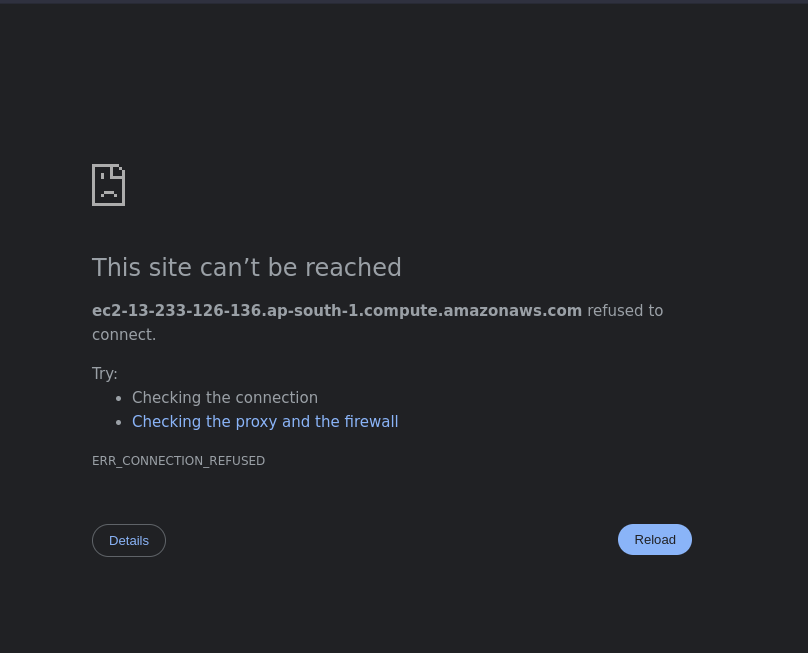
For reverse proxy, we will use Nginx which is the most popular one and widely used in production also.
Installation:
sudo apt update
sudo apt install nginx
after installing, if you try to access the same, you will see something like this rather than the error page:
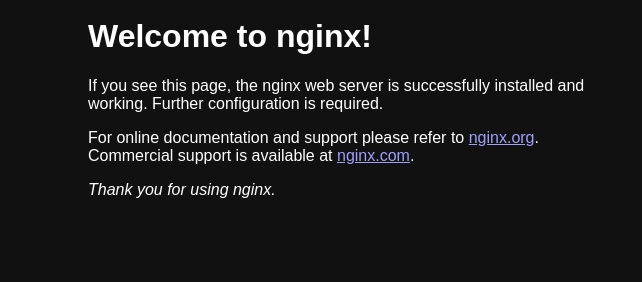
here Nginx is listening to port 80. Nginx’s configuration file is present at /etc/nginx/nginx.conf
Configure Domains
For Domains, we will setup our domain which will only work for our machines. You can literally say it works on my machine though.
# with vim
sudo vi /etc/hosts

# with nano
sudo nano /etc/hosts
and edit the file like this;
<public_ip_of_instance>  backend1.example.com
<public_ip_of_instance>  backend2.example.com
and save it.
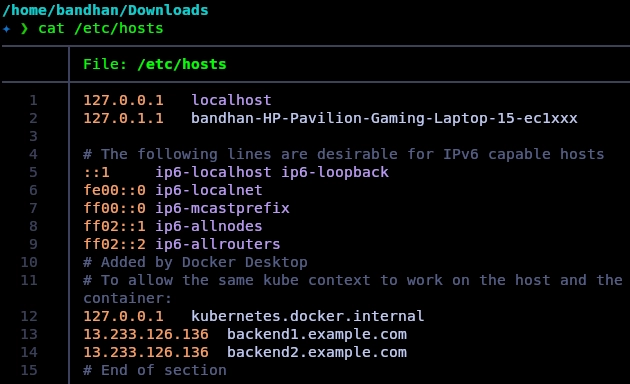
try to cat it,
cat /etc/hostslook at line no 14 and 15 of the below image. Ignore the above ones, they are not related.
Configure Nginx
Move back to the instance and delete the previous configuration file of Nginx with
sudo rm /etc/nginx/nginx.confand create another configuration file with:
sudo vi /etc/nginx/nginx.confand paste this to your file:
events {
    # Event directives...
}

http {
    server {
        listen 80;
        server_name backend1.example.com;

        location / {
            proxy_pass http://localhost:3000;
            proxy_http_version 1.1;
            proxy_set_header Upgrade $http_upgrade;
            proxy_set_header Connection 'upgrade';
            proxy_set_header Host $host;
            proxy_cache_bypass $http_upgrade;
        }
    }

    server {
        listen 80;
        server_name backend2.example.com;

        location / {
            proxy_pass http://localhost:3002;
            proxy_http_version 1.1;
            proxy_set_header Upgrade $http_upgrade;
            proxy_set_header Connection 'upgrade';
            proxy_set_header Host $host;
            proxy_cache_bypass $http_upgrade;
        }
    }
}
if you notice carefully, there are two servers. Both listening to port 80 and if the server_name is backend1.example.com, the proxy is forwarding the request to localhost:3000 and for backend2.example.com, it’s forwarding to the port 3002
Reload the configuration:
sudo nginx -s reloadTest the proxy
Go to your local machine (not the aws one). And in your browser, try to access backend2.example.com. And browser will return you someting like this:
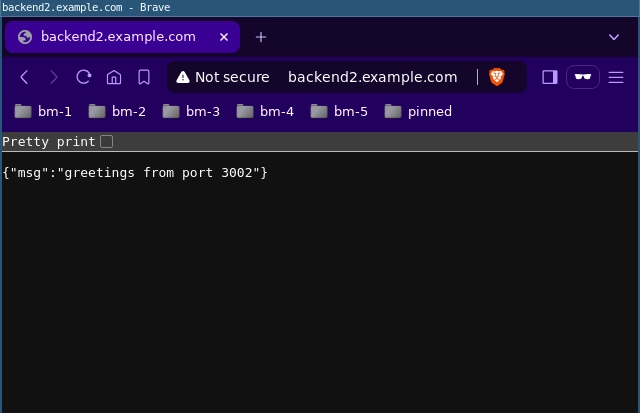
now, try to access backend1.example.com and browser will return you this:
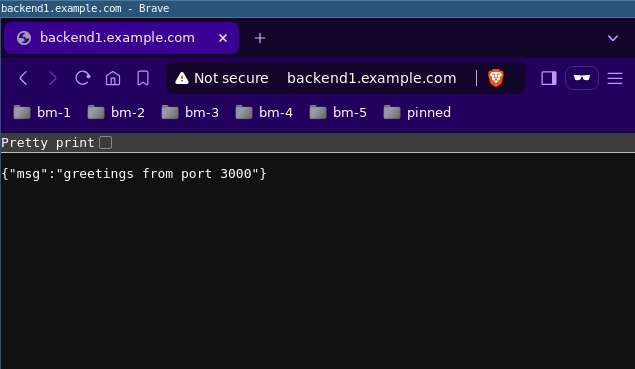
You have successfully setup reverse proxy. Congrats!
Terminate instance
Delete the instance you created in aws to avoid bills :)